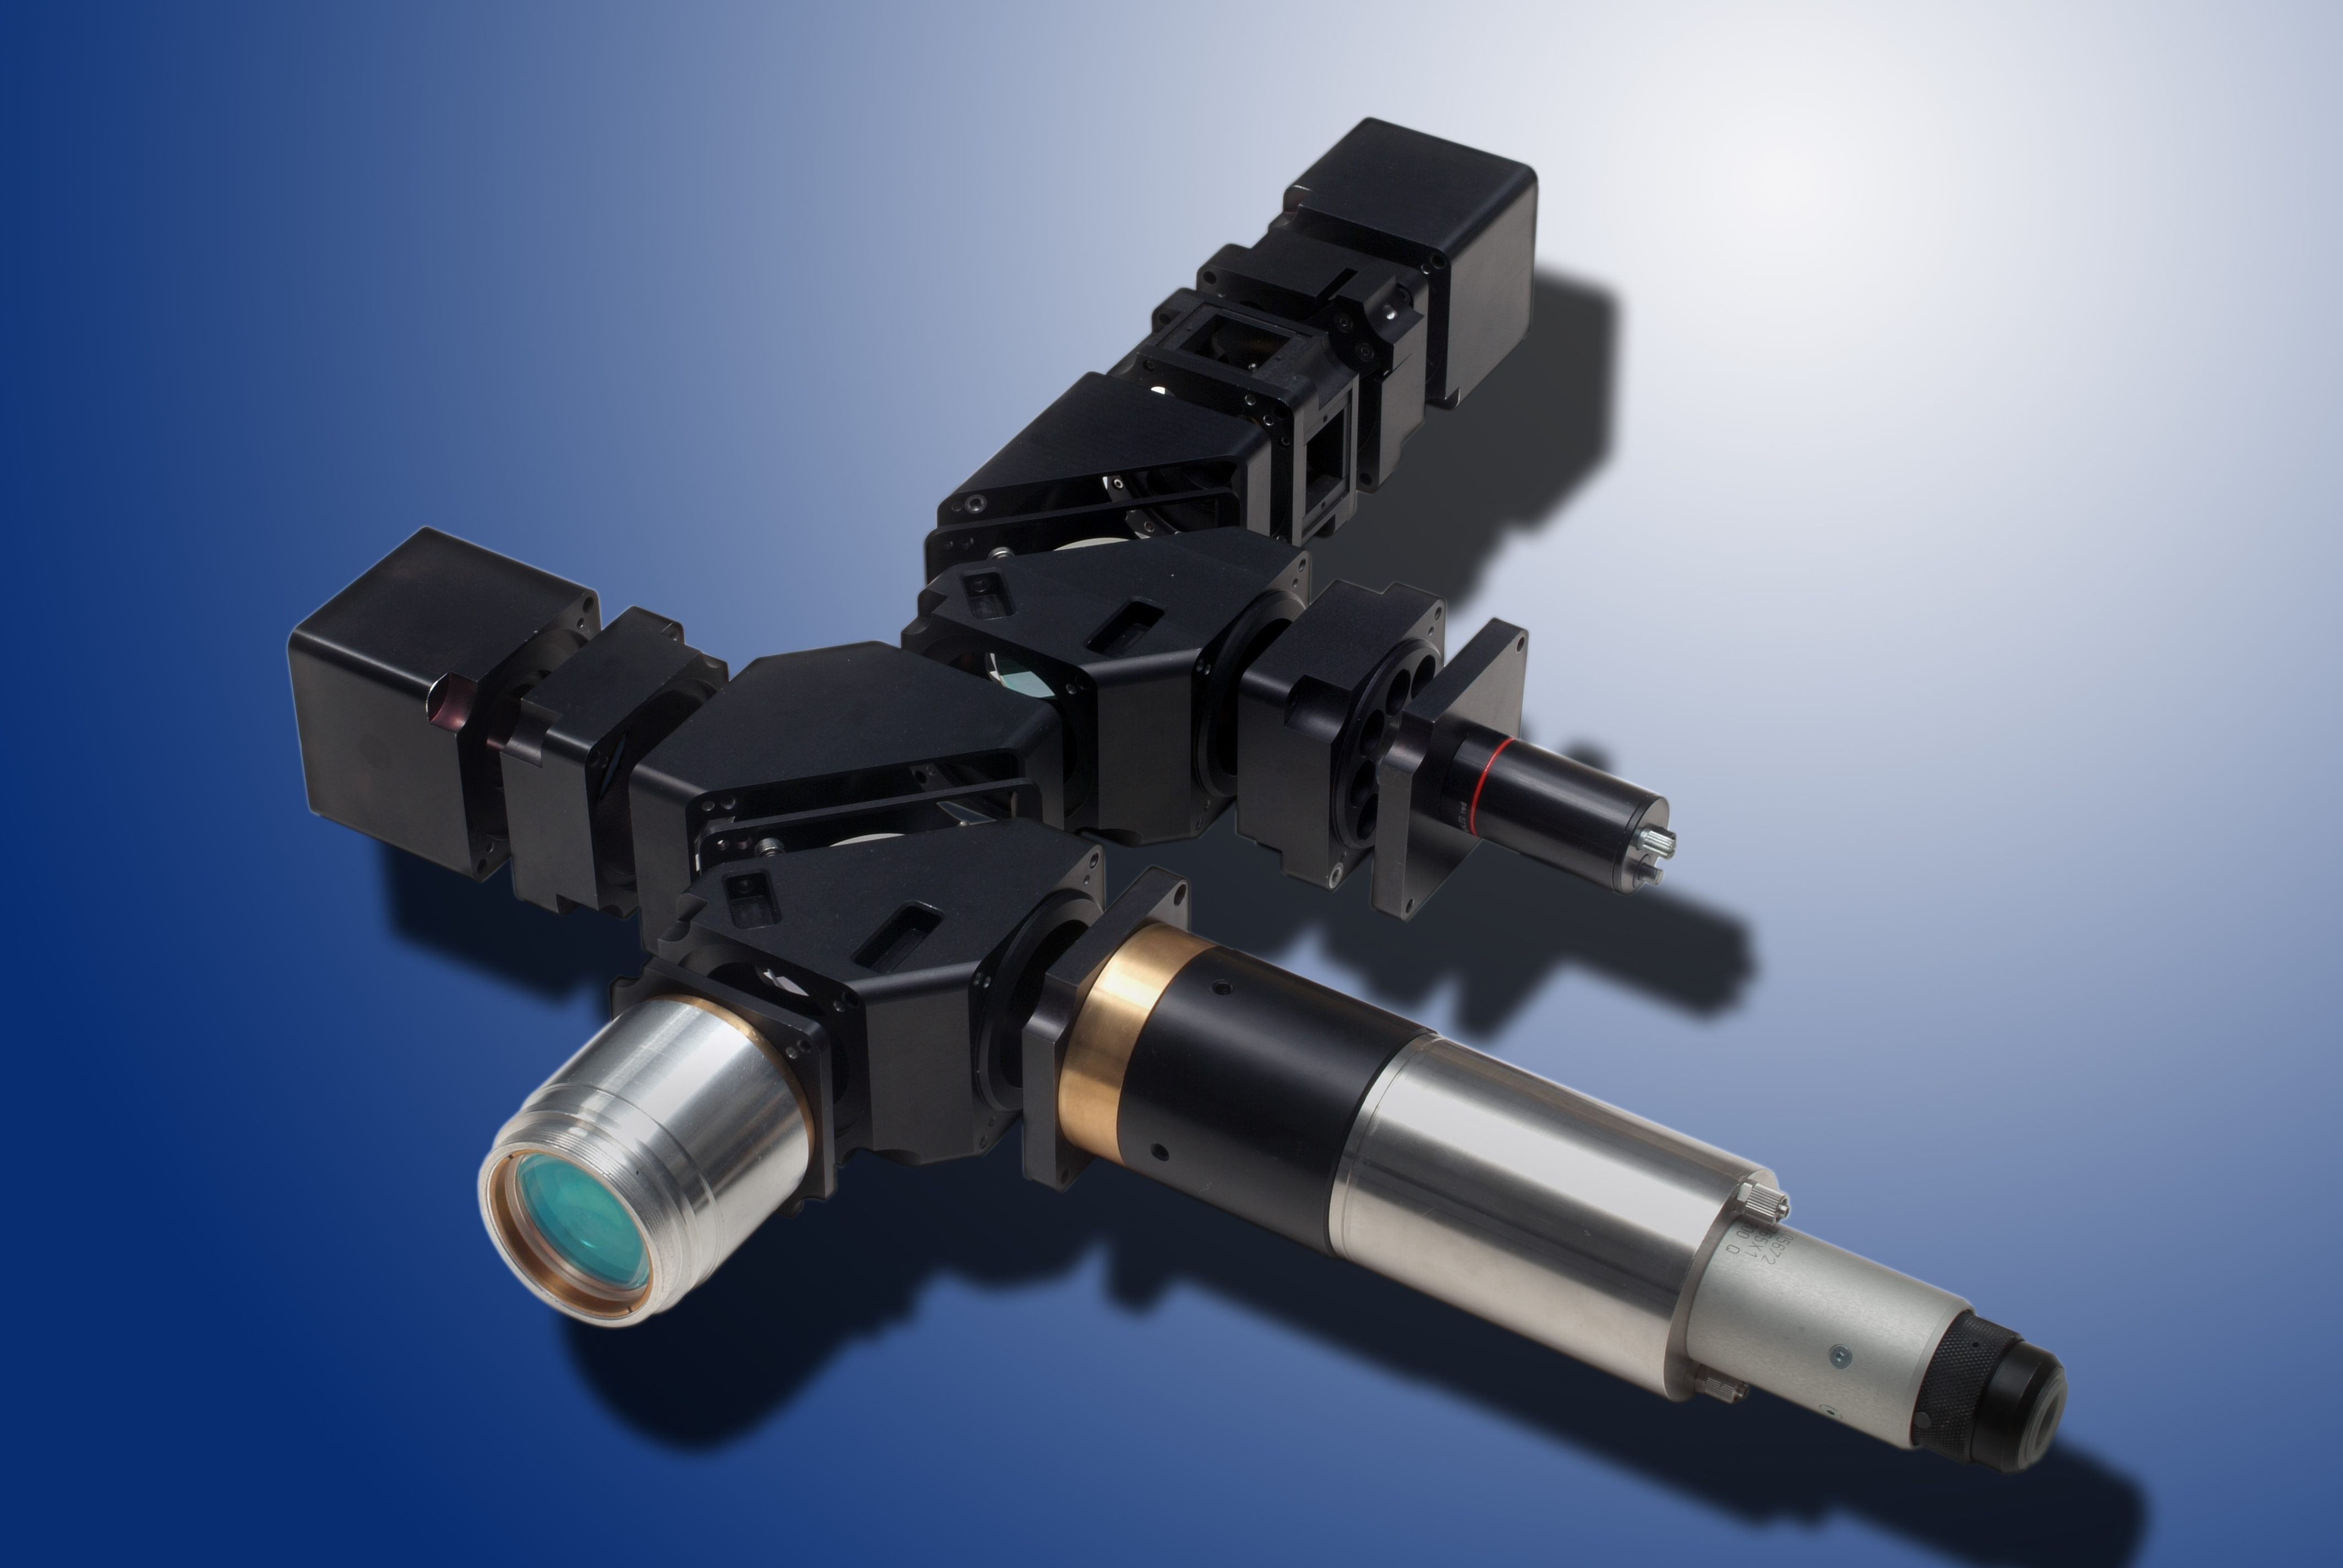
Thanks to the high-speed cameras available today, image processing has a variety of analytical options for component testing and process measurement technology. For laser processing applications, these high-speed imaging systems can be integrated into the beam path of laser processing systems and achieve robust, one-step process-monitoring and control results using hardware-based image processing and cognitive methods. When measurement results are evaluated rapidly, productivity can be increased for many manufacturing tasks. Fraunhofer ILT and Fraunhofer IWS develops highly integrated measuring systems for process measurement technology, especially for measuring fast melt dynamics analysis during welding, coating, cutting and ablation.
Often, only a very fast image processing makes it possible to meet certain requirements with regard to production cycle, test object movement, feature diversity, etc. For example, Fraunhofer IPM has developed the digital-holographic sealing-surface test that evaluates ten million 3D points per second and conducts a 100 percent test of wire surfaces for microdefects at feed speeds of up to 30 m/s.
Since many functional coatings, but also impurities, have a characteristic inherent fluorescence, they can be detected by fluorescence analysis, in particular, on metal, which does not fluoresce. In addition to detecting organic impurities on surfaces, the analysis of the spectra itself is very insightful since many of the substances to be investigated in production can be identified by their characteristic spectra.
To evaluate the measurement data, the institutes of the Fraunhofer Group for Light & Surfaces have many years of experience in characterizing surfaces and coating systems. This includes the analysis of nano- and microstructures as well as of optical and functional properties. To do this, they have a comprehensive pool of measuring and evaluation tools at their disposal.
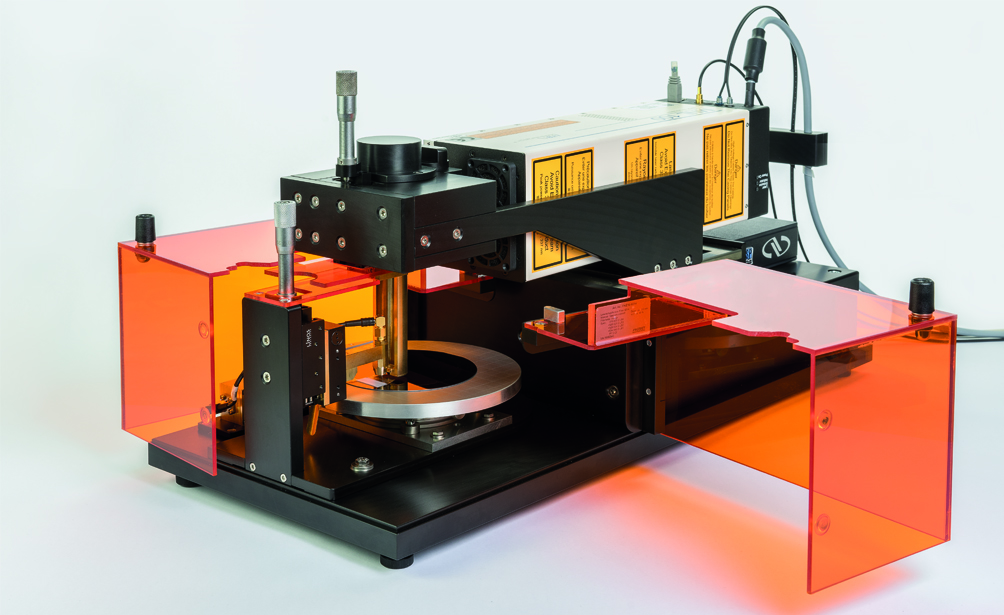
For special tasks, the institutes are developing special measuring systems to determine certain functions in-situ during production. For example, Fraunhofer IWS has developed the laser-acoustic measuring system LAwave for the characterization of layers and surfaces and which can be used to address the following applications:
Measuring the modulus of elasticity and layer thickness of ultra-thin and thin layers
Determining the porosity and defect density in thermally sprayed layers
Determining the structural disintegration depth on semiconductor wafers after sawing, grinding and polishing
Determining the hardening depth on hardened components
In addition to developing these measurement techniques, the institutes of the Fraunhofer Group for Light & Surfaces have a broad portfolio of calibration procedures and system-specific solutions to integrate measurement technologies into customers’ specific production lines.


