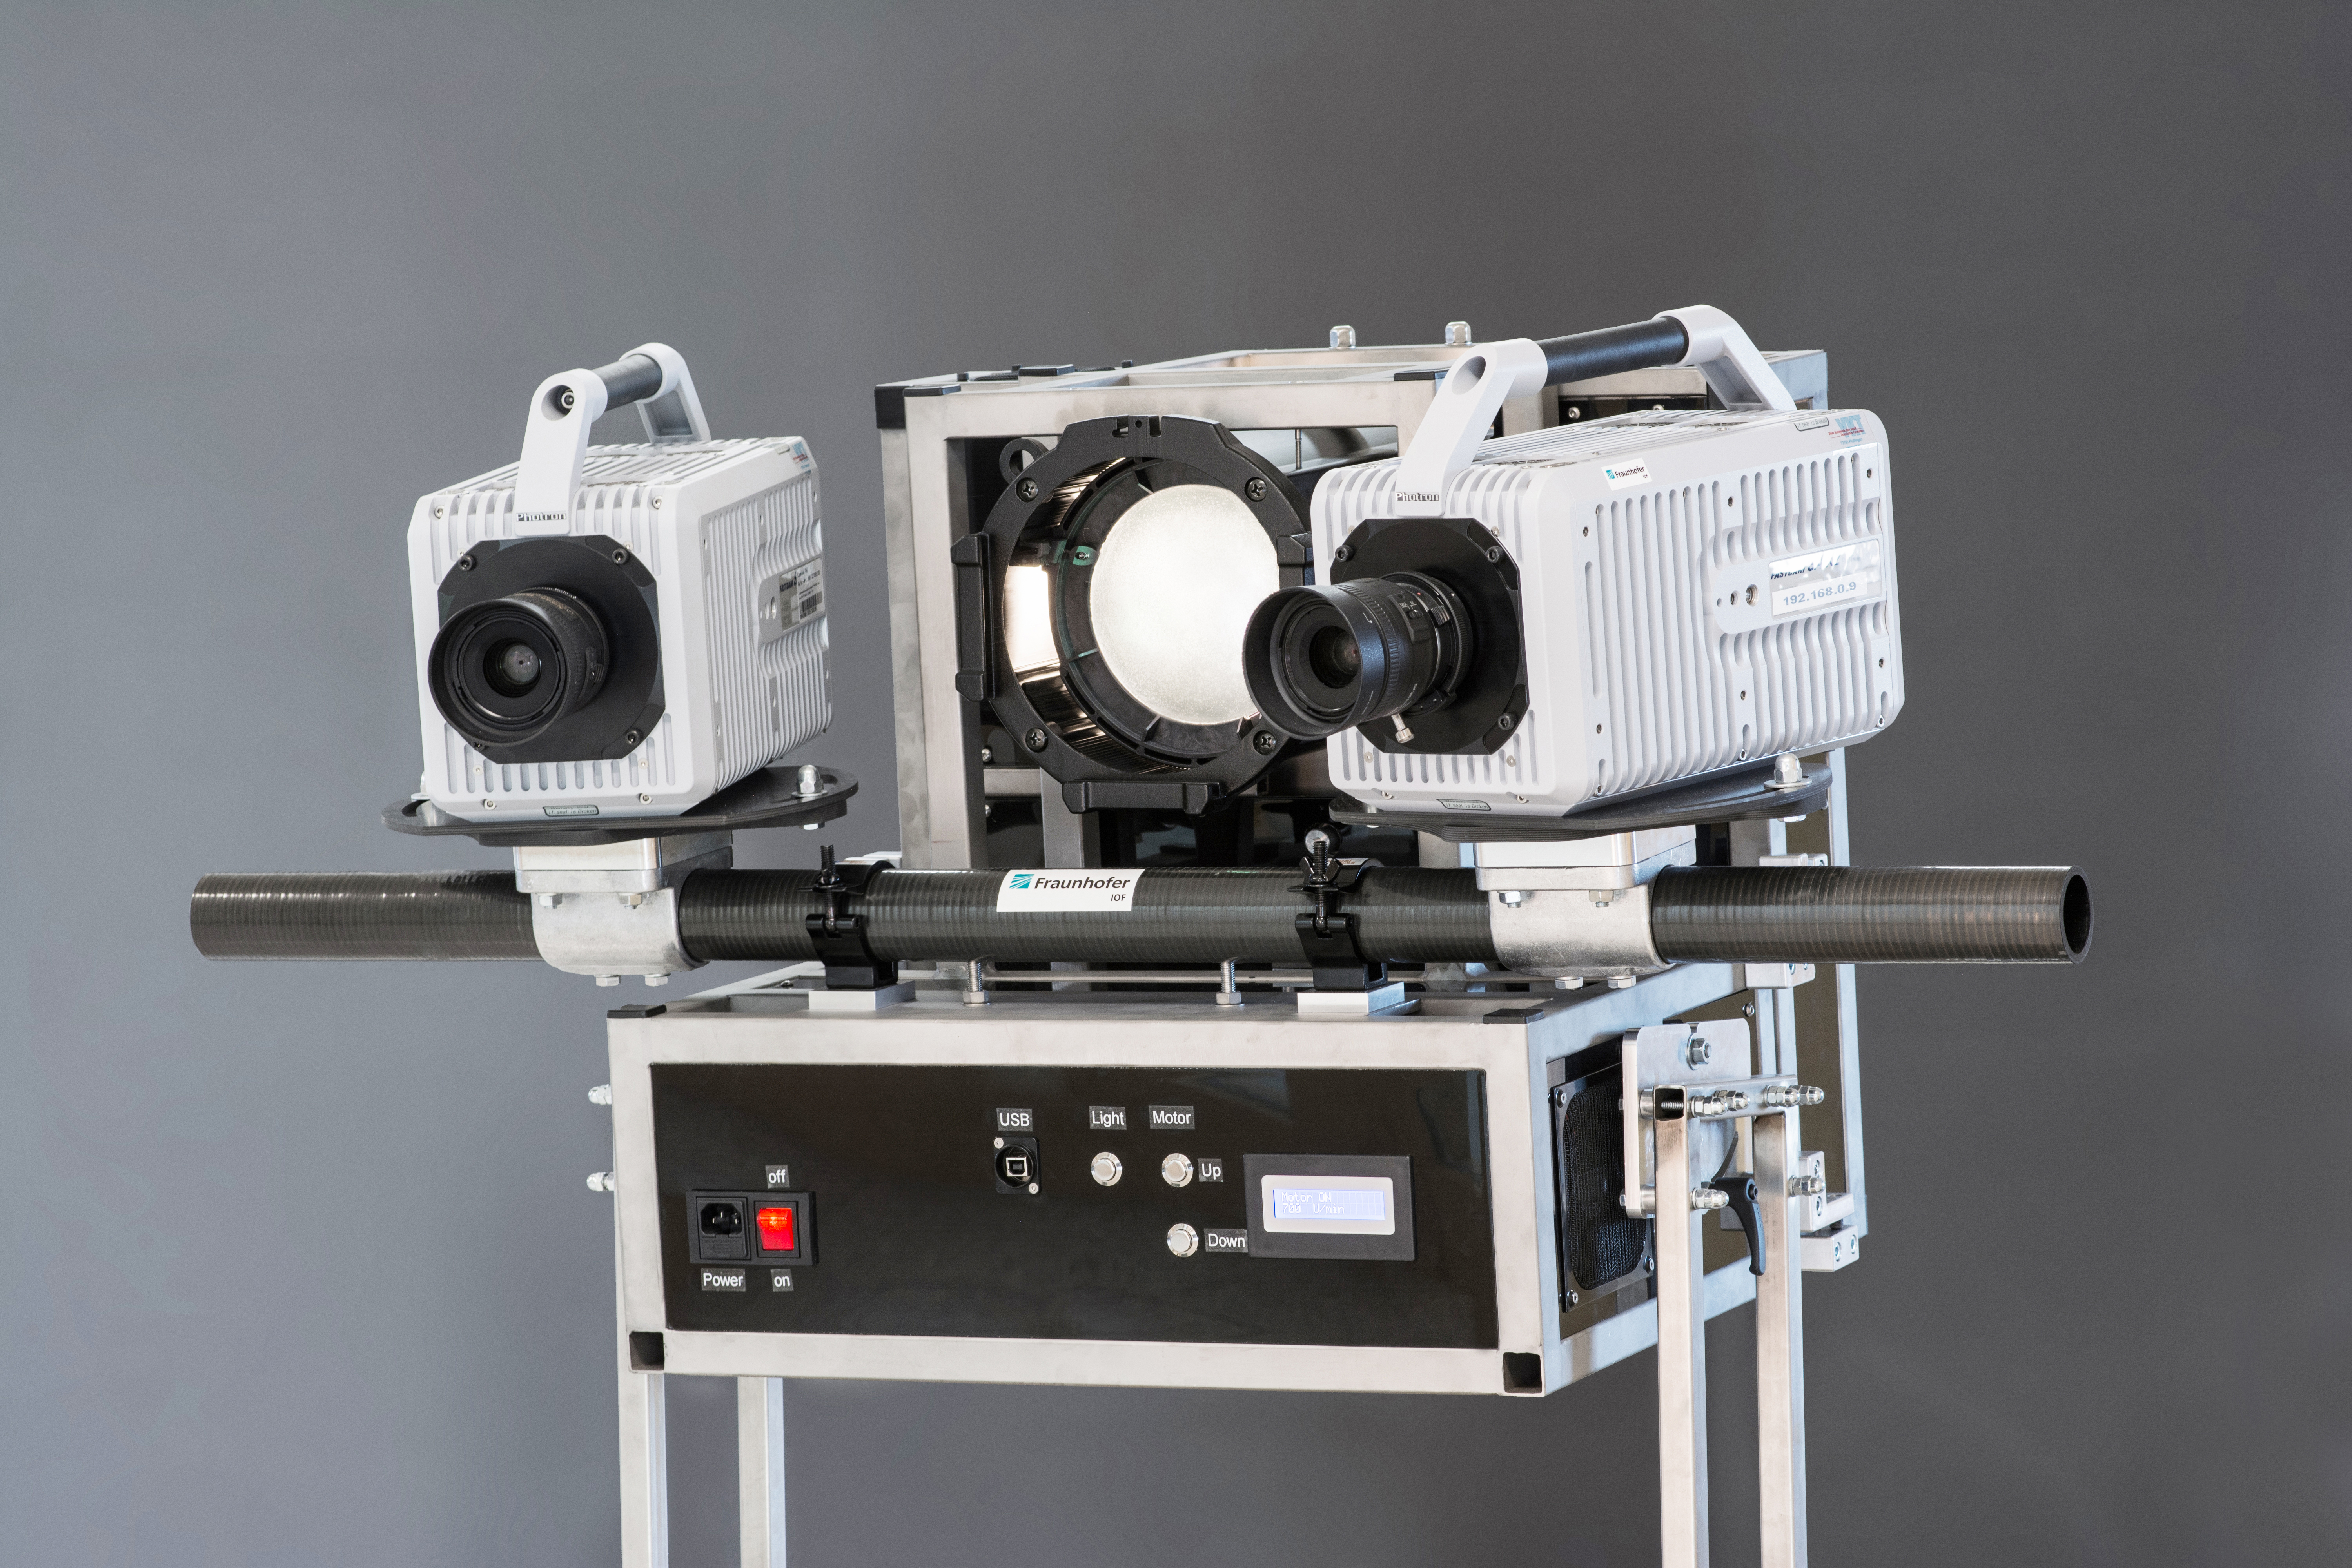
Thanks to laser metrology, geometrical sizes of technical objects can be measured without contacting them, for example, in order to determine gaps, profiles, shapes and to check the position and the dimensional accuracy of such objects or products. The methods commonly used are triangulation processes, such as the laser-light section process, with which profiles and shapes of an object are measured, as well as time-of-flight-measurement and absolute measuring interferometric processes, with which gaps are measured.
These 1D, 2D and 3D variables are measured over gaps of a few centimeters up to meters with measuring frequencies of up to 100 kHz. These methods are predestined for the in-line testing of geometric variables of an object that moves relative to the measuring radiation or whose state makes contact with a measuring instrument impossible, e.g. for sensitive or hot objects. In this way, it is possible to measure directly in a production line or even in conjunction with a machining process. Examples of applications are measuring the flatness of rolled metal sheets, the distance to a liquid slag melt or determining the position and shape of electronic components on printed circuit boards.
Conception and realization of 3D measuring systems
Among the institutes of the Group for Light & Surfaces, Fraunhofer ILT, Fraunhofer IOF and Fraunhofer IPM design and build optical 3D measuring systems for various applications, such as component measurement, process control and measurement of implants for medical devices. Their services range from developing new measuring principles, through creating special lighting arrangements, all the way to constructing complete measuring systems for a customer’s specific use.
Laser Scanner Development
The spectrum of the measurement tasks, e.g. at Fraunhofer IOF, ranges from criminalistics, archeology, in-line production monitoring, 3D surveying of moving persons in medicine and sports, safety engineering (3D-person recognition) to the measurement of ultra-rapid processes, e.g. crash tests or how an airbag unfolds.
In addition, Fraunhofer IOF designs and builds systems for surface and layer characterization using angle-resolved and total scattered-light measuring methods with wavelengths ranging from the EUV via VIS to IR.
The 3D measuring systems of Fraunhofer IPM cover a large field of shape measuring applications. For the 3D detection of the geometry and position of objects, it has developed special laser scanners that measure objects from moving platforms at high speed and great precision, especially in combination with tailor-made lighting and camera systems. Fraunhofer IPM has placed special attention on ensuring the robustness and long life of the systems it develops as well as to efficient data evaluation. Objects and shapes are recorded over a wide range of sizes: from centimeters to several 100 meters.

